

Steel post, I beam & 2×4 wood
Written by admin, 30 January 2022
In this article I would like to mention challenges faced by the welder approaching welding of steel post to I beam and I beam to I beam surrounded by 2×4 wood in construction of new houses. It is obvious that builders controls contractors’ activities in construction of new house. It is also obvious that carpenters or rather people skilled in placing 2 x 4s control the construction of the new house.
Once electricians and plumbers come then the control and power on construction site shifts from carpenters to electricians and/or plumbers. Since carpenters control the construction of new houses the mobile welder welding steel posts and I beams is treated as a nuisance in their daily life. In fact, most of them do not even understand what the welder does and why he came to the construction site. Majority of them probably think that the house will stand on their 2 x 4 anyway and the welder is a money-grabber. Unfortunately, to their point of view the builder in charge of new construction has a completely different idea.
Call us, text us or email us for traditional and advanced welding services. And leave us your feedback on our google profile.
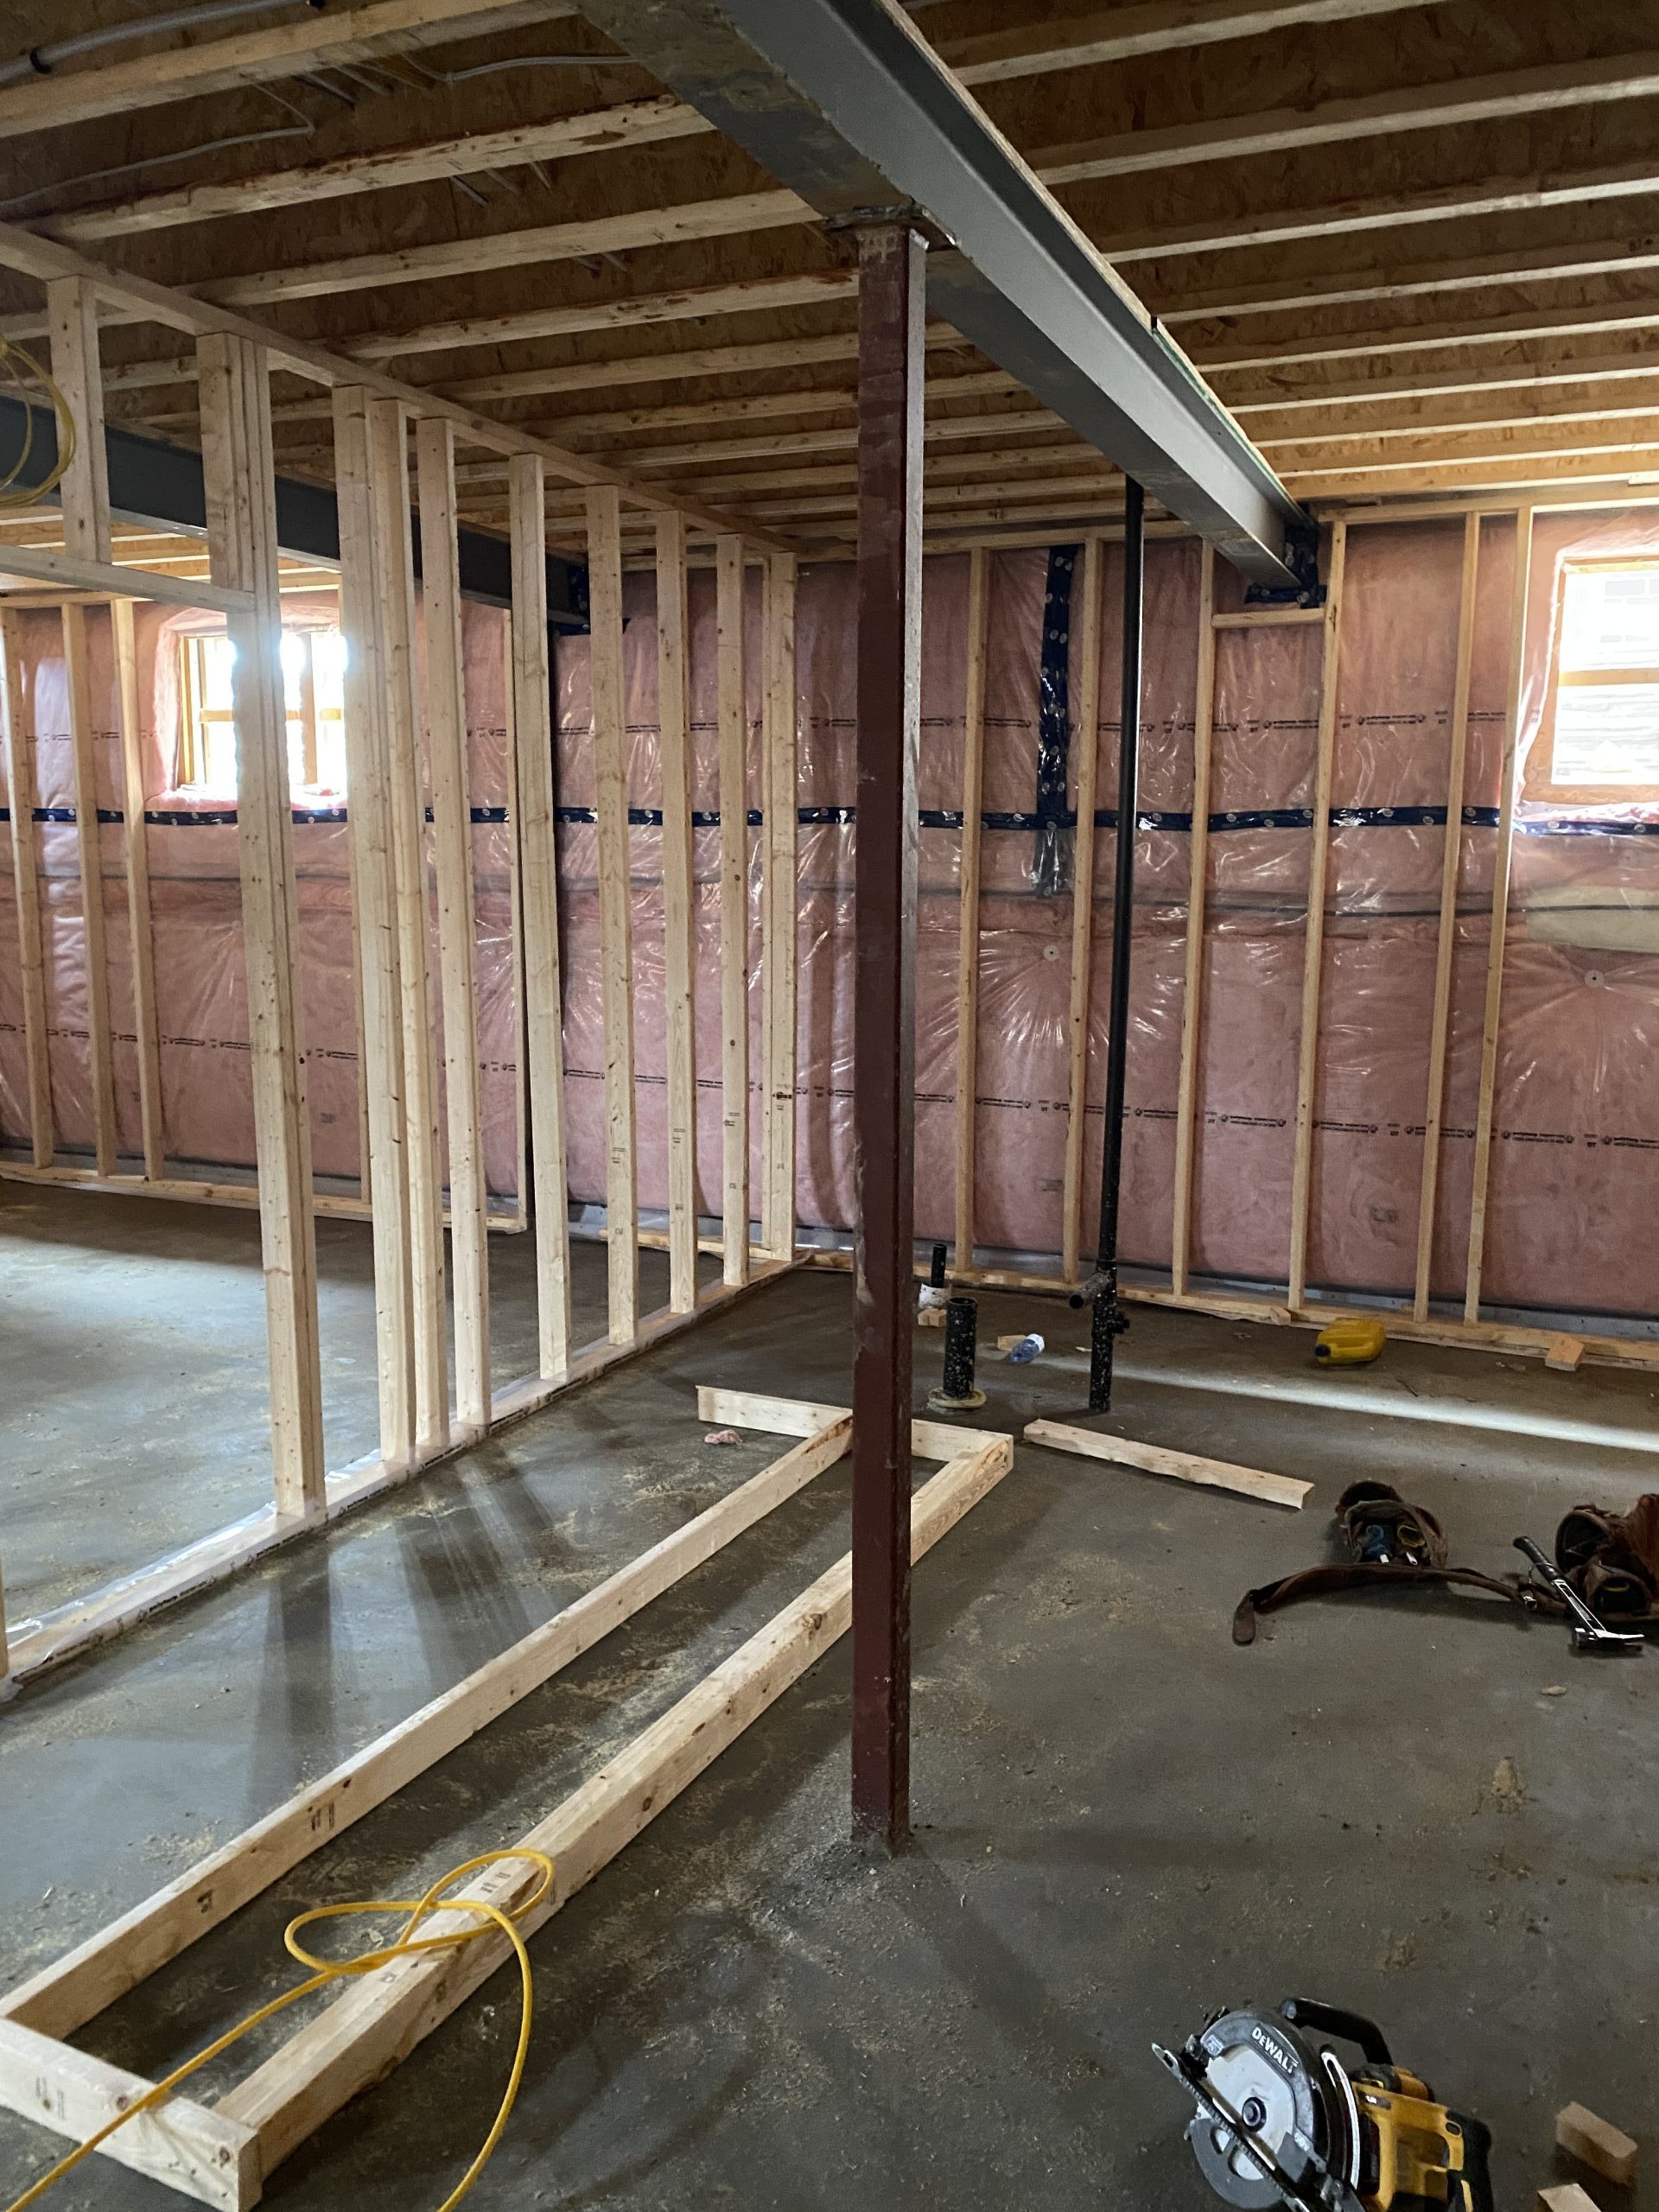
Welder needs space when welding steel post to I beam
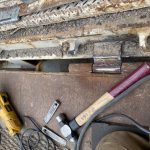
The welder on construction site of new house needs space. First, it needs space to park its truck as close to the house as possible. The carpenters should keep in mind that welder does not take light battery operated tools to a toolbox and goes welding. Welder keeps the very heavy welding machine on the truck and then drags the heavy welding cables to the spot where welding will take place. Since these welding cables have limited length, he must park his truck as close as possible to the construction site.
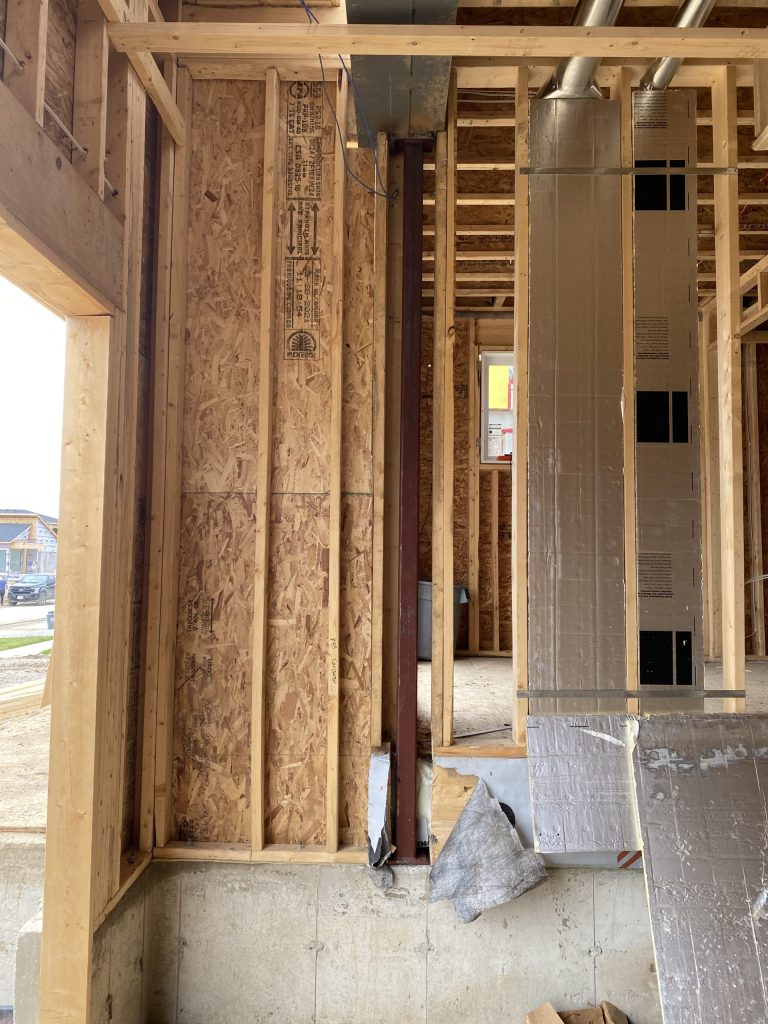
Secondly, the welding spot must be free from 2×4 wood since the post must be welded at least from 2 sides to properly support the beam. It simply means that wood can not be surrounding the post and it also means that welder who tries to weld in close proximity of the wood will cause a fire. That also means that you have to remove particle board in places where the welder must weld.
Thirdly, same rules apply when welding beam to the beam when welder uses angles to join the two beams together. The ceiling spot must be open for welder to get closer to the welding spot and not cause a fire that will consume your precious 2 x 4s within a minute.
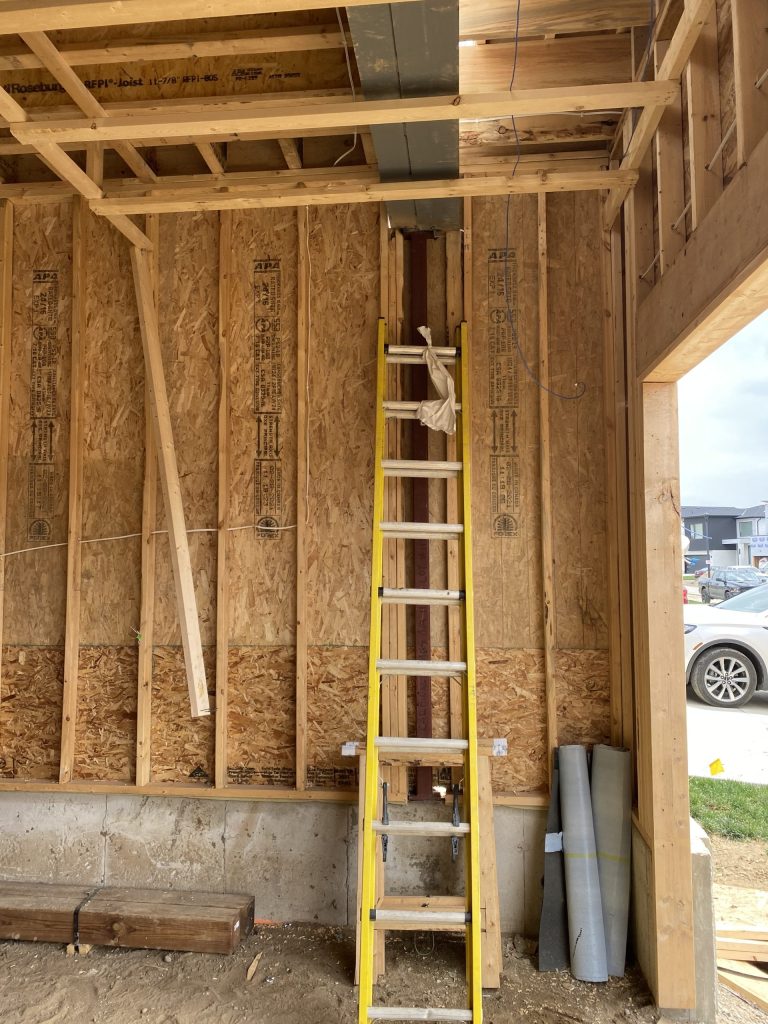
Welder needs space to put the ladder
Finally, the welder needs space to put his ladder to access the welding spot safely. Any bumps to the welder by carpenters carrying the 2×4 wood is not appreciated and not very funny. Although, we understand jokes well, try to imagine that you put the welding helmet on your head and then you go on the ladder. Then you start welding and you do not see much surrounding area since your vision is severely confined by narrow opening in a welding helmet. And suddenly you notice that you are loosing balance, but unfortunately you can not grab anything for support since in one hand you hold a welding gun and in second supports slightly your steady position. Anyway, you would not know what to grab since you do not see anything.
Welder does not move as quickly as carpenters.
Probably you have noticed that welders wear heavy clothes. They have heavy welding jackets, heavy pants and heavy safety boots. They also move slower since they have to accumulate some safety equipment prior welding. This safety equipment includes fire blankets for protection of your 2×4 wood when welding steel post. Many welders have to also protect the floor or the newly installed windows prior welding. Additionally, welder’s helper should have fire extinguisher ready when welding on construction of new houses.
Welding process is also not as fast as setting the nail to your 2×4 wood. Especially, welding an I beam to another I beam will take some time and could create some heat. I recommend to leave the welder and his helper alone and do not touch newly created welds since it will cause severe burns.
Remember, do not put any silicone between steel post and I beam
Some labours try to temporarily stabilize the steel post supporting the I beam by applying silicone between flange of a I beam and top plate of the steel post. This is extremely bad practice from welding point of view since the silicone starts leaking from the joint immediately when the welding process starts. The leaking silicone prohibits the proper welding process and prohibits generation of quality weld.
Your action perhaps help to set the steel post in place and maintain the proper position of steel posts according to I beam but unfortunately the leaking silicone makes our welding impossible.
Use steel shimming when necessary for steel posts
Welder notice sloppy installation of steel post right away. The sloppy installation of steel posts creates gap between bottom flange of the I beam and top plate of the steel post. These gaps should be shimmed prior welding disregarding if they are parallel or angular. Obviously, the angular gaps cause the most trouble for the welder since shimming of them is more difficult.
When placing the steel post you will notice some gaps on the top between the bottom flange of the I beam and the top plate of the post and the posts stands on wooden joist as it is in case of renovation of old houses than shims must go on top of the steel post. However if the steel post stands on the concrete floor and you will notice gap in the same spot than place the shims under the bottom plate of the steel post.
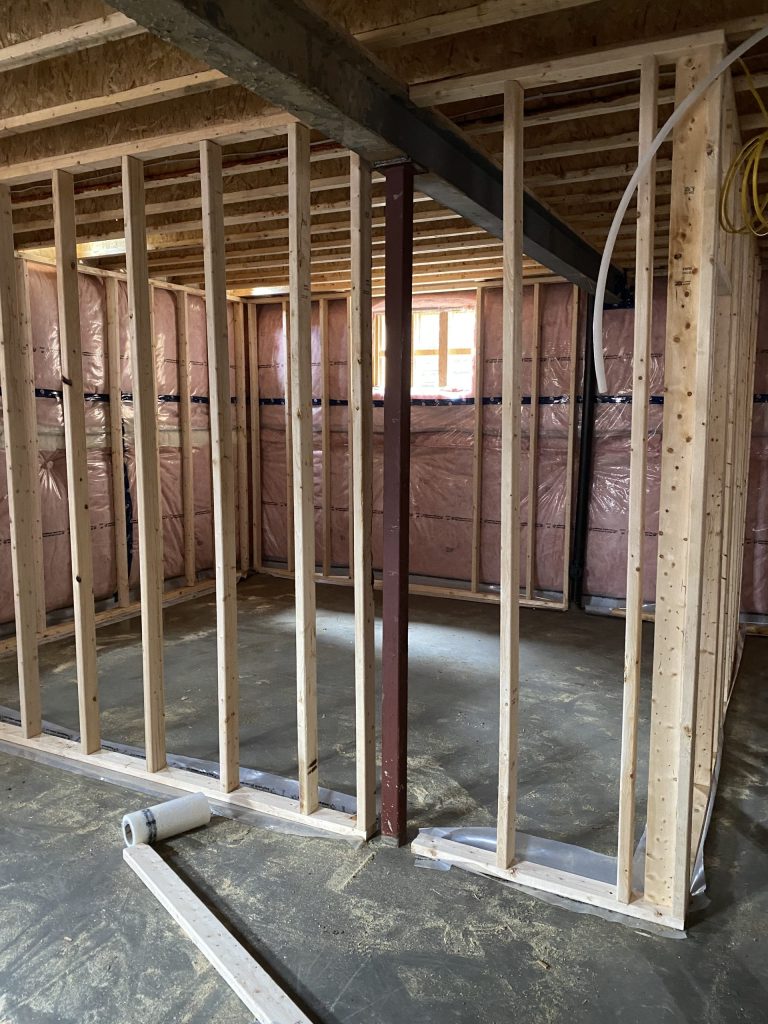
If the steel post transfers the load from one I beam to the another I beam located on the higher floor and you still notice gap than you can place the shims on top plate of the steel post. In this way, the welder will weld these shims.
If you experience difficulties installing steel posts, we would recommend teleposts. Fortunately, we distribute teleposts for your convenience.
Call us, text us or email us for traditional and advanced welding services. And leave us your feedback on our google profile.


Leave a Reply
You must be logged in to post a comment.